Overview
Welcome to my tutorial on how to turn a Raspberry Pi into a NAS. For those of you who don’t know, NAS stands for Network-Attached Storage. A NAS is simply a system that is accessible on a network for the purposes of storing data. Within this tutorial, I utilise a Raspberry Pi, mainly becayse of its afforability, but also because of its portability.
You can use a NAS for virtually anything. Personally, I’m using to hold malware samples that I don’t want floating around my main PC as well as using it to store CTF writeups. It works the same as any other storage device, only that instead of plugging it into your PC or laptop, you can access it over your home network.
So let’s get into it!
What You Need
Here are a few things you’ll need to follow along with this tutorial:
- Raspberry Pi (the more RAM the better)
- I recommend the RPi4, but I only have a RPi3 so don’t worry if your hardware doesn’t match exactly.
- External storage
- Again, this really doesn’t matter but I’m using a Samsung T7 1TB SSD because it’s lightning fast!
- Ethernet cable (optional)
- I would recommend you use an Ethernet cable to set this up, but Wi-Fi will do just fine.
Preparing the Raspberry Pi
Before you set up your NAS, you need to configure your Raspberry Pi with the correct operating system in order to host it.
So, take your SD Card, insert it into your adapter, and plug it into your computer.
Then, using the Raspberry Pi Imager, select the “Raspberry Pi OS Lite (32-bit)” operating system. This will install a barebones version of the Pi OS without any GUI components or applications.
Next, select your SD Card which you wish to write the operating system onto. Make sure you select the correct device and don’t accidentally overwrite something important!
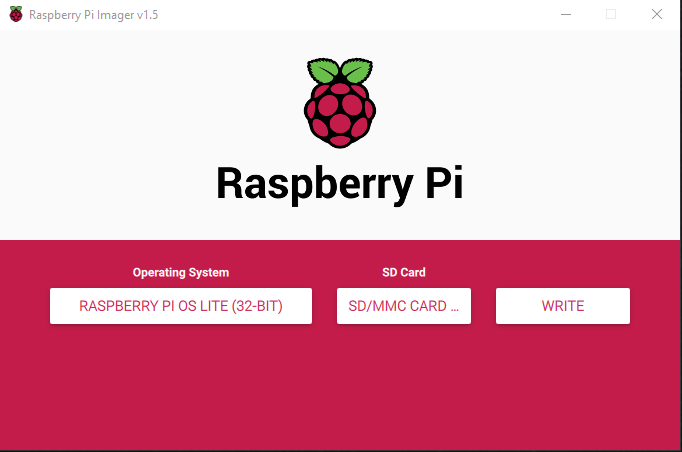
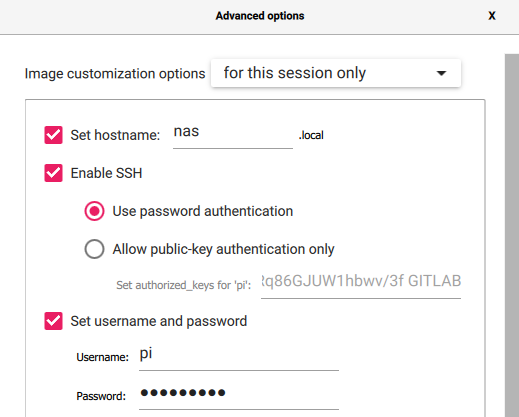
As an optional step, you can configure additonal settings on the Pi, by hitting CTRL+SHIFT+X on your keyboard. This will bring up an “Advanced options” tab which can allow you to configure SSH, usernames/passwords, and even Wi-Fi. I recommend using a wired Ethernet connection to ensure you don’t run into any problems in later stages of this tutorial, but there’s no harm in using Wi-Fi.
For my configuration, I enabled SSH and left the default username and password combo (pi:raspberry) as well as setting the hostname to nas.
Once you have finished, click “Write” and accept the prompt.
Access your Raspberry Pi via SSH
In order to access your Pi via SSH, you first need to know its IP address. There are a few ways to do this, but the easiest is to go into your router’s configuration page and find devices which recently connected to your network.
Then, you can access it via SSH through the following command:
1
$ ssh username@<ip_address>
Simply supply the IP address of your Pi along with the username of the user you configured in the previous step. If you didn’t configure a username/password, the default is pi with the password raspberry.
Once connected, you want to ensure your Pi is up-to-date. You can run the following command to update the available repositories and upgrade (install) those updates.
1
$ sudo apt update -y && sudo apt upgrade -y
Installing NAS Software
One of the best, and arguably one of the easiest to install, NAS solutions is OpenMediaVault. This is a great piece of software, based on Debian, that comes loaded with services like SSH, FTP, BitTorrent, and so much more.
To install OpenMediaVault on your Pi, run the following:
1
$ sudo wget -O - https://raw.githubusercontent.com/OpenMediaVault-Plugin-Developers/installScript/master/install | sudo bash
This grabs an install script from GitHub and then runs it with bash. This may take some time, so be patient! It is also worth mentioning that if you’re accessing the Pi via SSH, you may get disconnected while the software is being installed, so you will have to reconnect before continuing.
Accessing OpenMediaVault
On your web browser of choice, navigate to the IP address of your Pi. This will bring you to a login page for OpenMediaVault.
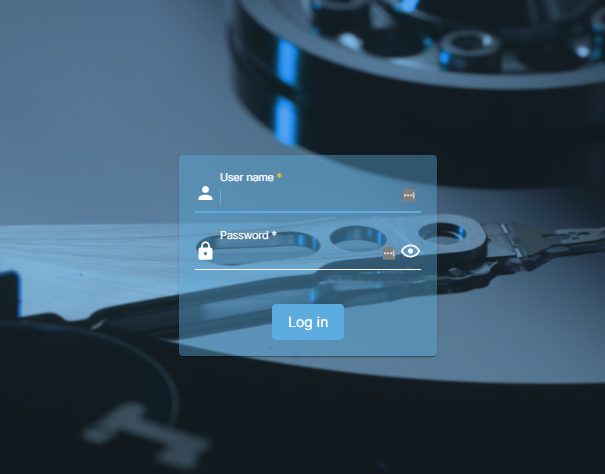
By default, the username:password combination is admin:openmediavault. Once logged in, you will see a layout similar to the one shown below:

After I logged in, I immediately changed the default password. To do this, click the settings icon on the top-right of the dashboard, and click Change Password.

Once you have entered in a new password, click Save. Note, you may have to log back in after you save the new password.
Adding External Storage
Firstly, make sure you plug your external storage into your Pi. Then, on the OpenMediaVault webpage, click on Disks within the side-bar to view your available storage devices. Your device should appear as shown:
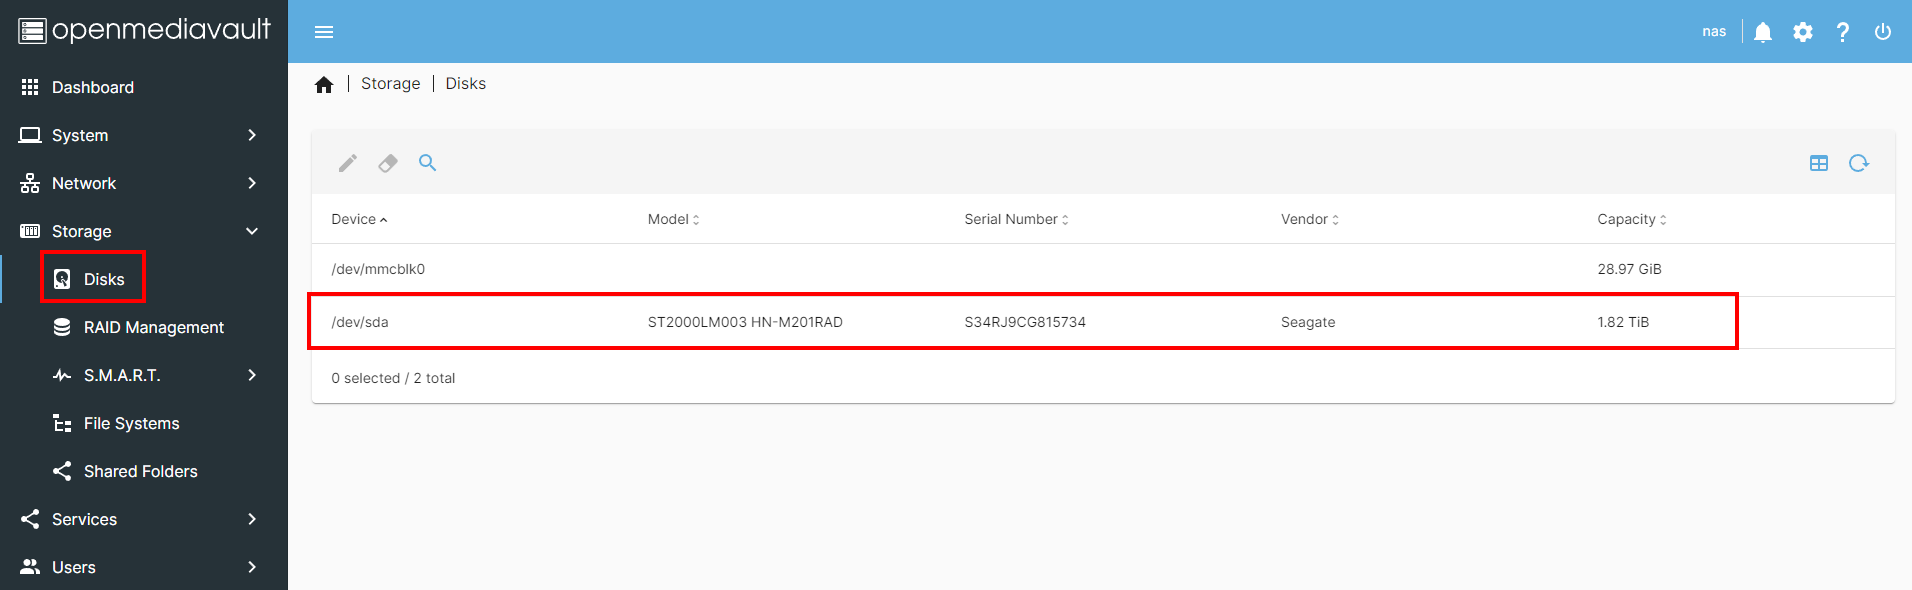
You may also notice that your SD Card also appears - in my case that’s /dev/mmcblk0. In theory, you could just use the SD Card as storage, but this is likely going to be very limiting, so you’re better off using some sort of external hard drive or SSD.
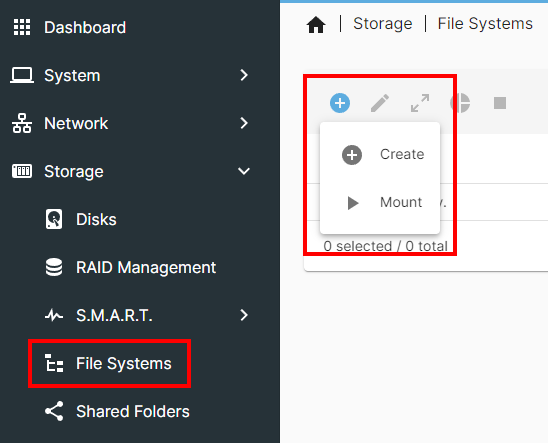
To configure your external storage as a file system, first click on File Systems within the side-bar, and then select Create from the small plus icon as shown:

Then, select your device from the drop-down menu, and click Save. Don’t worry if this produces an error, just try again.
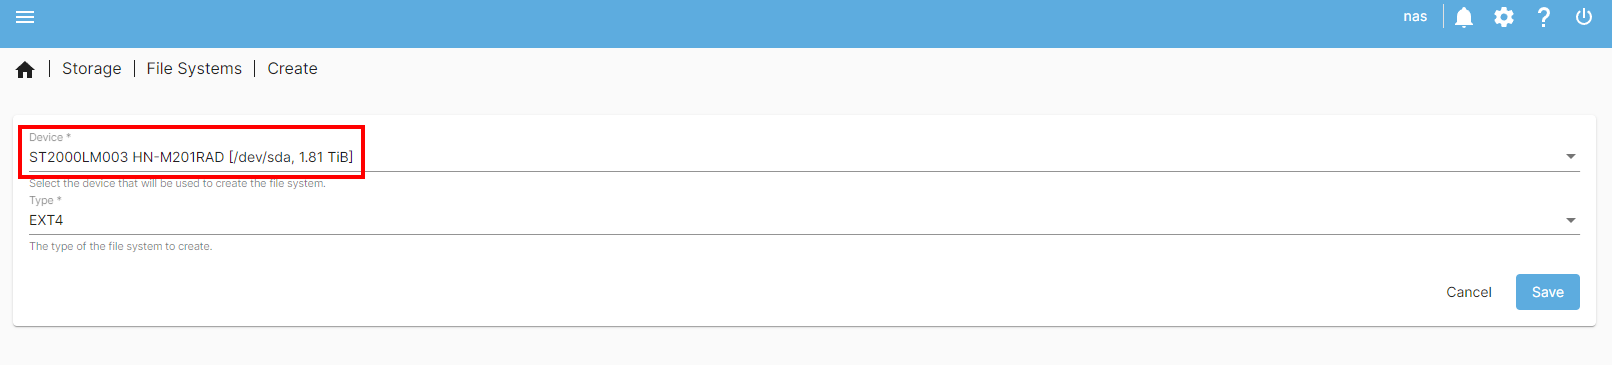
Once this is done, click Close.
Now you need to mount this new file system. As before, within File Systems, click Mount from the small plus icon.
Then, select your newly created file system from the drop-down menu, click Save and accept the prompt.

Before you continue, you must apply the changes by clicking the check mark at the top-right of the dashboard.
Now that you have the file system mounted on the Pi, you need to create a shared folder. To do this, click on Shared Folders under Storage within the side-bar. Click the small plus icon, provide a name for the folder, and select your external storage device.
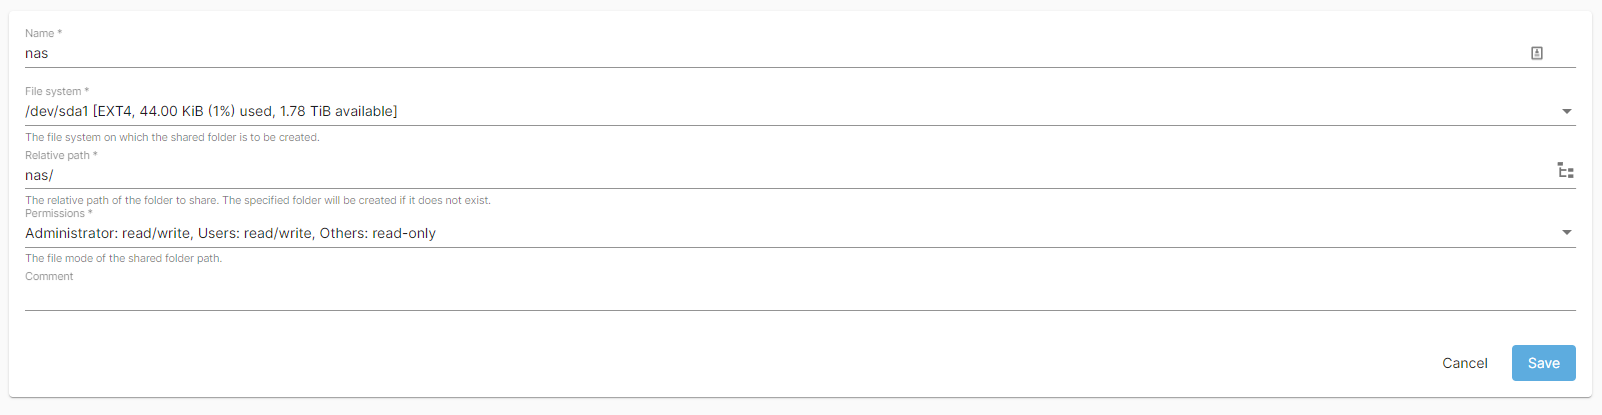
You can play around with the permissions if you like, but I’m going to leave them default for now.
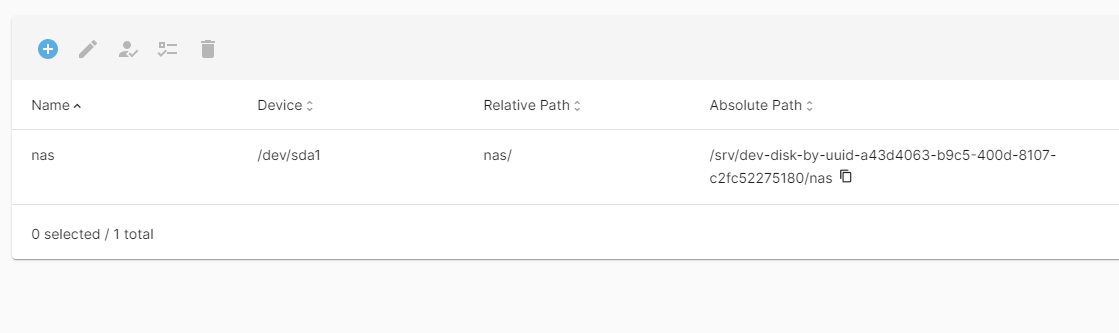
You should now have a shared folder similar to the one shown below:
Now that you have successfully configured your storage, click the check mark at the top-right of the webpage and accept the prompt to apply the changes.
Configuring Access
There are many ways you can access your new NAS. However, the main two I will cover in this tutorial are NFS and SMB shares. This is because I’ll be using both Linux and Windows to access my NAS, so I need both NFS (Linux/Mac) and SMB (Windows). You can choose the solution that is best suited to your needs.
SMB Configuration
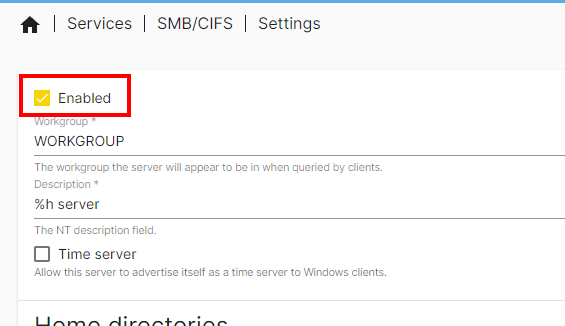
To enable SMB, click on SMB/CIFS under Services. Then, click on Settings and toggle the checkbox as shown below.
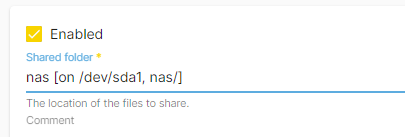
Once you’ve enabled SMB, scroll down and hit the Save button. Now, click on Shares and add the shared folder you created previously:
Once again, scroll down and hit Save and apply your changes using the check mark at the top-right of the dashboard.
Now that you’ve got this configured, you need to actually access your NAS. You can do this on either Windows or Linux, although Windows makes it slightly more straightforward.
Firstly, if you’re on Windows, open up your file explorer and go to This PC. From there, right-click and hit Add a network location.

Then, click Next and select Choose a custom network location, and click Next. Next, you want to type in the location of your NAS (its IP address), followed by the name of the share, in the format shown below:
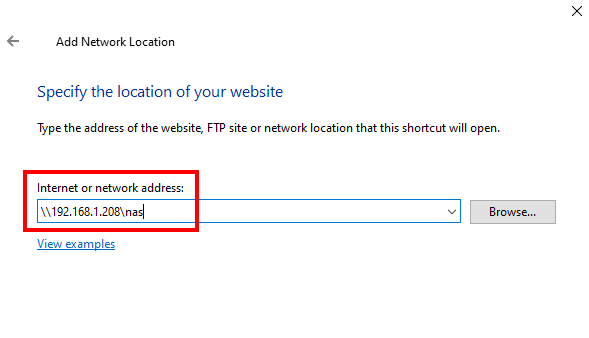
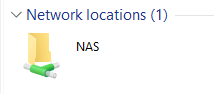
Then, click Next and provide a username and password for authentication - if you’re using the default, the credentials will be pi:raspberry. Finally, provide a name for the NAS. Now you should be able to access the NAS as you would any other drive.
For the Linux users, you can access the NAS using smbclient. This tool comes pre-installed on Kali Linux, but you may have to install it if you’re using other distributions:
1
$ sudo apt install smbclient
Then, to access the share:
1
$ smbclient \\\\<ip_address>\\<share_name>
NFS Configuration
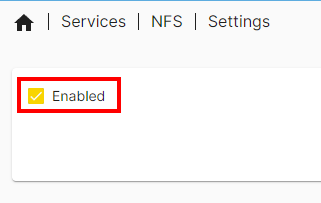
Similarly, to enable NFS, click NFS under Storage. Click on Settings and toggle the checkbox as shown:
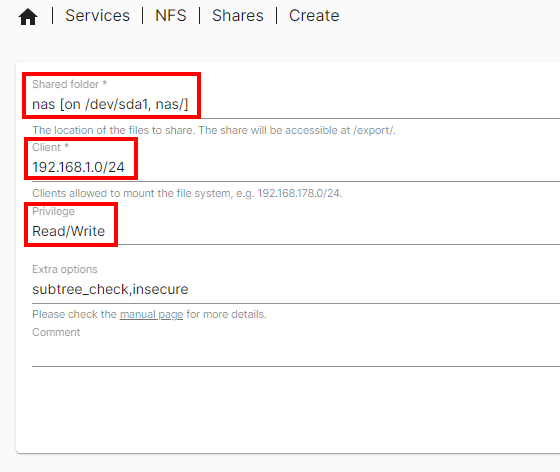
Again, hit the Save button and navigate to the Shares tab. Click on the small plus icon and select your shared folder. You then need to supply an IP address range for the clients which are allowed to mount your file system. To find this, run ip a on your Linux machine. I would also recommend changing the privileges to Read/Write as shown:
Once this is all configured, hit Save and apply your changes using the check mark at the top-right of the dashboard.
Now you need to mount the NAS on your machine so that you can access it. On your Linux system, run the following command:
1
$ showmount -e <ip_address>
This will tell you the location of your NAS on your Raspberry Pi. For me, the output was as follows:
1
2
3
$ sudo showmount -e 192.168.1.208
/export     192.168.1.0/24
/export/nas 192.168.1.0/24
Using this, I recommend creating a dedicated folder for your NAS on your Linux machine. This will serve solely as a mount point, so that all of your other files aren’t impacted. For me, I put it in my user’s home directory:
1
$ sudo mkdir -p /home/v3r4x/nas
Then, to mount your NAS, run the following:
1
$ sudo mount -t nfs <ip_address>:/remote/path/to/nas /local/path/to/nas
For example, the command I ran was as follows:
1
$ sudo mount -t nfs 192.168.1.208:/export/nas /home/v3r4x/nas
Closing
And that’s it! You’ve successfully turned your Raspberry Pi into a NAS! Unfortunately, I wasn’t able to cover absolutely eveyrthing in this tutorial, particularly regarding OpenMediaVault. I would highly recommend you check out the OpenMediaVault wiki if you want to take full advantage of it.
I really hope you enjoyed this and hopefully you learned a thing or two. I love making these tutorials and will be making a conscious effort to share as much as I possibly can with you to help my learning as well as to benefit you.
If you want to keep up to date on what I do, follow me here:
Or you can also support me by buying me a coffee:

Stay curious
- v3r4x